Once you select an order in the Explorer window, the Order Preview window is populated with several additional information tabs.
Click any of the links below to see details for each tab. Click the link again to hide the information.
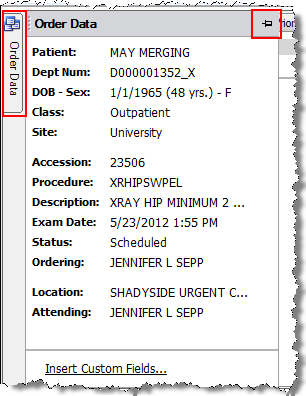
The Order Data tab displays information about the order, including patient information (age at time of report, site, and so on), exam details, and providers. You can show or hide this information by clicking the Order Data vertical tab (located on the left side of this section) or by clicking the push-pin icon (located on the right side).
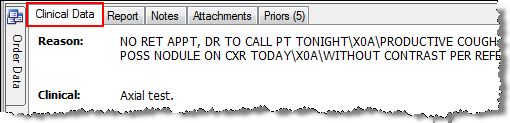
The Clinical Data tab shows the reason for the study, history, and so on. If no clinical data is available for the order, this tab is does not appear.
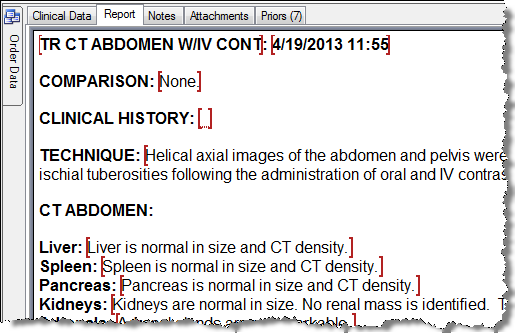
If the order you selected has a report already associated with it, click the Report tab to see the text of the report. If no report has been created, the Report tab does not appear.
NOTE: For a quick way to see a report's Impression section, hover your mouse cursor over the report. The report's Impression section appears in a tool tip floating over the report.
The Notes tab allows you to create a text or audio note to associate with a report or an order.
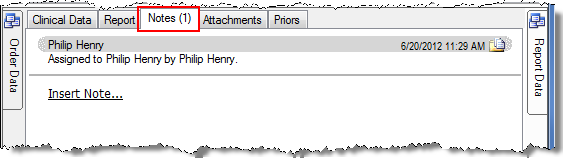
To create a note:
Click the Insert Note link. The Report Note (or Order Note) dialog box opens.
To add a text note:
Type your text in the text box.
If you want to associate your note with the patient, select the Patient note check box. Otherwise the note is associated with the report itself.
When finished, click OK.
To add an audio note:
Click the Switch to an audio note link. The dialog box changes to an audio control box.
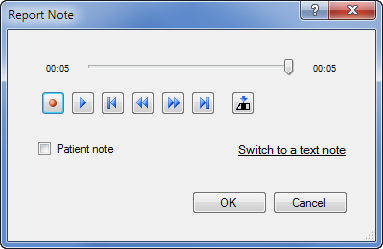
Press the Record button on your microphone, or click the Record icon, and dictate your note. You can fast forward, rewind, pause, and play back your report. You can insert additional recording at a specific location in your note by pausing and using the Insert icon.
If you want to associate your note with the patient, select the Patient note check box. Otherwise the note is associated with the report itself.
When finished, click OK.
The Notes tab, along with the Attachments and Priors tabs, places a number in parentheses next to the tab name to indicate whether these tabs contain any items. If no number appears, the tab does not have any content.
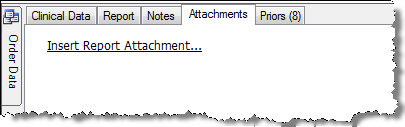
The Attachments tab allows you to attach an image or document file to an unreported order or a report.
You can attach any type of file to the report; however, the person viewing it must have the appropriate application on their computer to view the attachment. For example, an Adobe pdf file requires that Adobe Reader is installed.
Click the Insert Report Attachment link and browse for the file that you want to attach. (For an unreported order you will see two links: Insert Order Attachment and Insert Patient Attachment.)
Click OK to insert the attachment.
To view your attachment, double-click it or right-click and select Open.
Once you've attached one file to the order and want to attach another, right-click inside the Attachments window and select Insert Report Attachment.
Select the Priors tab to view any prior studies for this patient. If prior studies exist, you can select one from the list and view the text of the report in the area below the list.
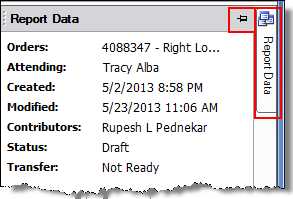
The Report Data tab contains information only when a report has been dictated on the order. Otherwise this tab has no content. You can show or hide this information by clicking the Report Data vertical tab (located on the right side of this section) or by clicking the push-pin icon (also located on the right side).