Follow the procedure below to assign preferences to an individual user. You can also assign preferences at the system level or at the site level.
|
CAUTION: If a user is logged in to PowerScribe 360 | Reporting, the changes you make in the Administrator Portal to his or her account preferences do not take effect immediately. (You see a message indicating this.) The user must log in again to have the new account preferences reloaded, and must restart PowerScribe 360 | Reporting to have the new system and site preferences reloaded. If you change a system preference and you want the change to be reflected immediately in one or more user accounts, you must modify the preference in each user account (or the user must modify her own preference in the client application). |
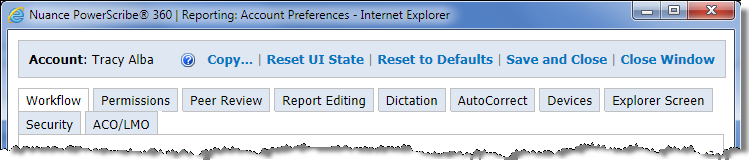
Copy: Opens a window that allows you to select another user for whom you want to use the same preferences as the current user.
Reset UI State: Returns the client screen frames to their default sizes. Useful if a radiologist has maximized one or more screen sections and can no longer see the other panes/frames in the window.
Reset to Defaults: Set all of the preferences back to their default values.
Save and Close: Saves your changes and closes the window.
Close Window: Closes the window without saving any changes you made.
To assign user preferences:
1. In the Setup group, click the Accounts tab and select a user for whom you want to set preferences.
2. Click Preferences. The Account Preferences dialog box opens with the Workflow tab selected by default.
3. Use each of the tabs to set preferences for this user.
4. When you have finished setting preferences, click Save and Close to save your changes.
TIP: On each tab, the column at the far right shows the default setting for each item. If you have changed a field's value from its default, the field name appears bold.
For information on each of the site preference tabs, click the links below.