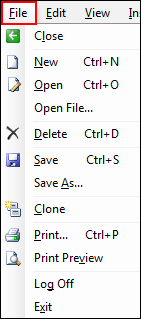
The following table describes the function of the items in the AutoText Editor window's File menu.
|
NOTE: In nearly all cases, the tool bar has an identical function if you prefer to use it. |
|
NOTE: A hidden (grayed out) item indicates that the feature is not available for the current report or user. |
|
Menu Item |
Description |
|
Close |
Closes the AutoText Editor and returns you to the Report Editor window. You are prompted to save any unsaved changes if you have not already done so. |
|
New (Ctrl+N) |
Clears the window allowing you to create a new AutoText |
|
Open (Ctrl+O) |
Opens an existing AutoText that you selected from the AutoText Manager (located at the bottom of the window) |
|
Open File |
Allows you to search for and select a file to insert into the AutoText. If an AutoText is already open, you are asked if you want to save the current one before opening the file. |
|
Delete (Ctrl+D) |
Deletes the selected AutoText |
|
Save (Ctrl+S) |
Saves the current AutoText |
|
Save As |
Allows you to save the current AutoText under a different name and location |
|
Clone |
Allows you to create a duplicate of the selected AutoText and assign it to a new owner. You can then modify the cloned AutoText as needed. |
|
Print (Ctrl+P) |
Opens the Print dialog box |
|
Print Preview |
Shows the report as it will appear when printed |
|
Log Off |
Logs you off of the system; returns you to the login page |
|
Exit |
Exits the application completely |